


A bathroom can look acceptable at a glance and still be hiding soap scum, mould spores, hard water marks and bacteria in all the places people tend to skip. That is why bathroom deep cleaning steps matter. They do more than improve appearance – they lift hygiene, reduce odours and help fixtures, grout and surfaces stay in better condition for longer.
For busy households, rental properties and commercial amenities, the difference between a quick tidy and a proper deep clean is usually in the method. The right order saves time, prevents cross-contamination and delivers a noticeably better result. Whether you are preparing for an inspection, resetting your home or bringing a heavily used washroom back up to standard, a structured approach makes the job more manageable.
Why bathroom deep cleaning steps need the right order
One of the most common mistakes is cleaning the floor first, only to drop dust, hair and product residue from higher surfaces straight back onto it. Another is spraying every surface at once and then rushing before products have had time to work. Deep cleaning is not only about effort. It is about sequence.
A professional approach usually starts by removing loose clutter and dry debris, then moves from high surfaces to low ones, and from less contaminated areas to more contaminated ones. That means mirrors, vents and shelving before the shower base, and the vanity before the toilet. It sounds simple, but this order is what helps elevate your space rather than just shifting grime around.
Bathroom deep cleaning steps for a thorough result
1. Clear the room and ventilate properly
Start by taking out bath mats, bins, toiletries and anything sitting on shelves or around the vanity. This gives you full access to the surfaces that collect hidden dust and moisture. Open windows if you have them, or switch on the exhaust fan to improve airflow while cleaning products are in use.
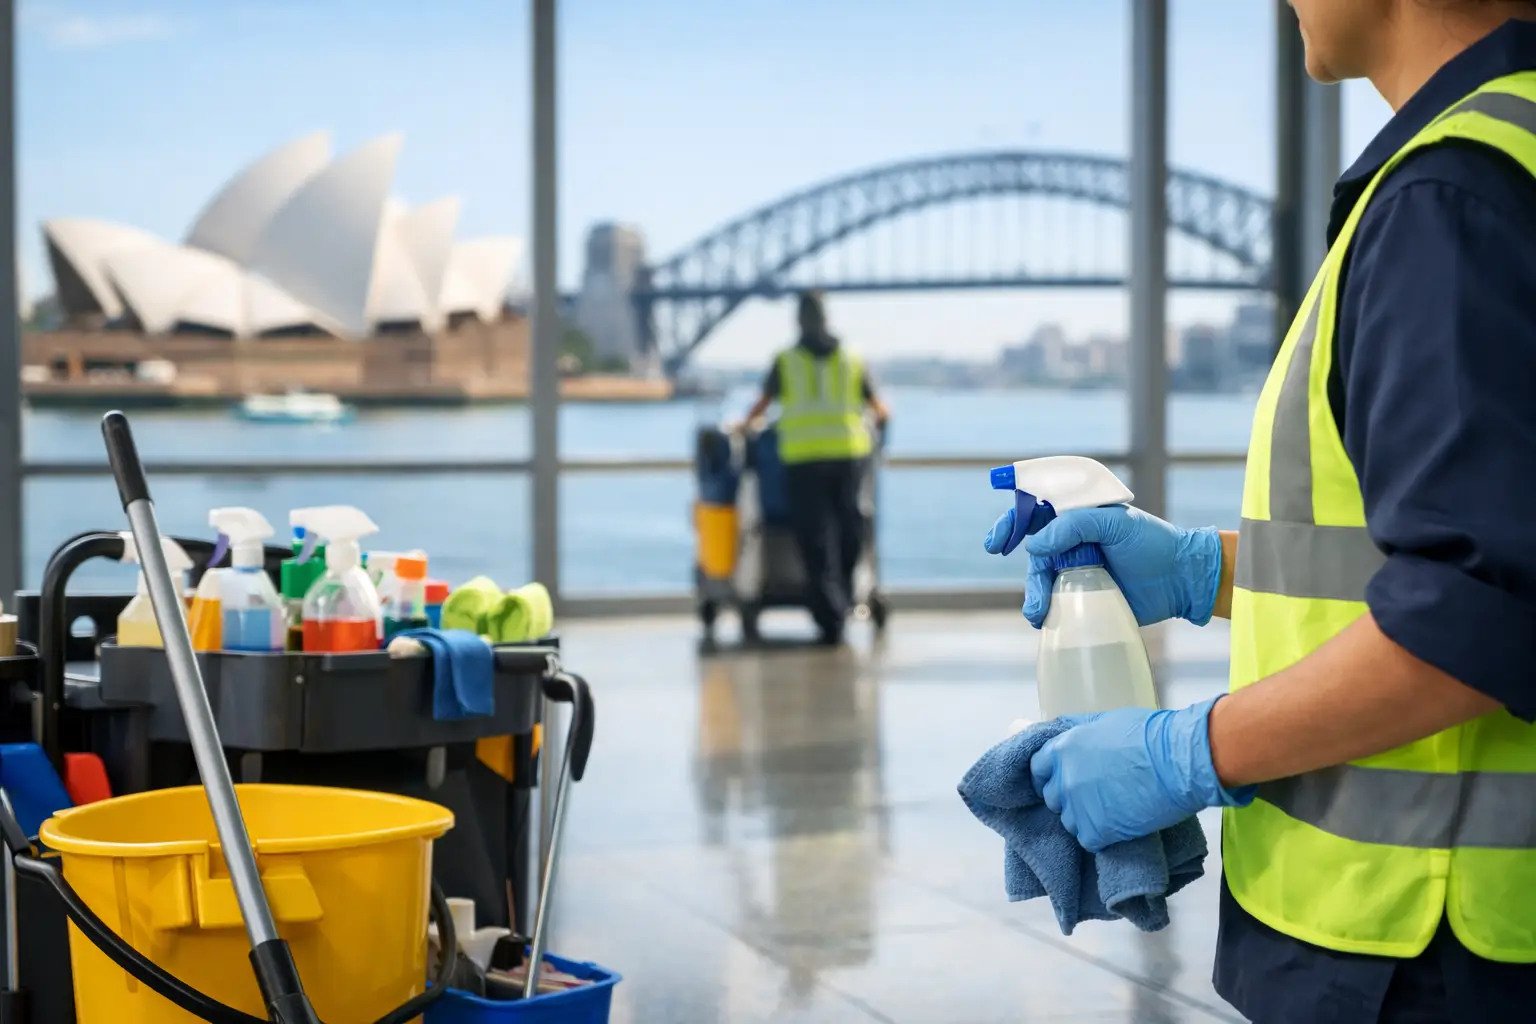
Ventilation matters more than many people realise. In Sydney bathrooms, especially those with limited natural airflow, trapped humidity can feed mould growth even after the room has been cleaned. Getting fresh air moving from the outset helps the room dry faster once the work is done.
2. Dry clean before you wet clean
Before spraying anything, remove loose hair, dust and debris. Wipe down exhaust covers, light fittings, skirting areas and shelving. Vacuuming corners, tile edges and around the toilet base can make a significant difference, because wetting dust too early often turns it into residue that is harder to remove.
This stage is particularly useful in bathrooms that have not been cleaned thoroughly for a while. Fine dust mixed with hairspray, powder and lint can leave a dull film on surfaces if not removed first.
3. Apply product and allow dwell time
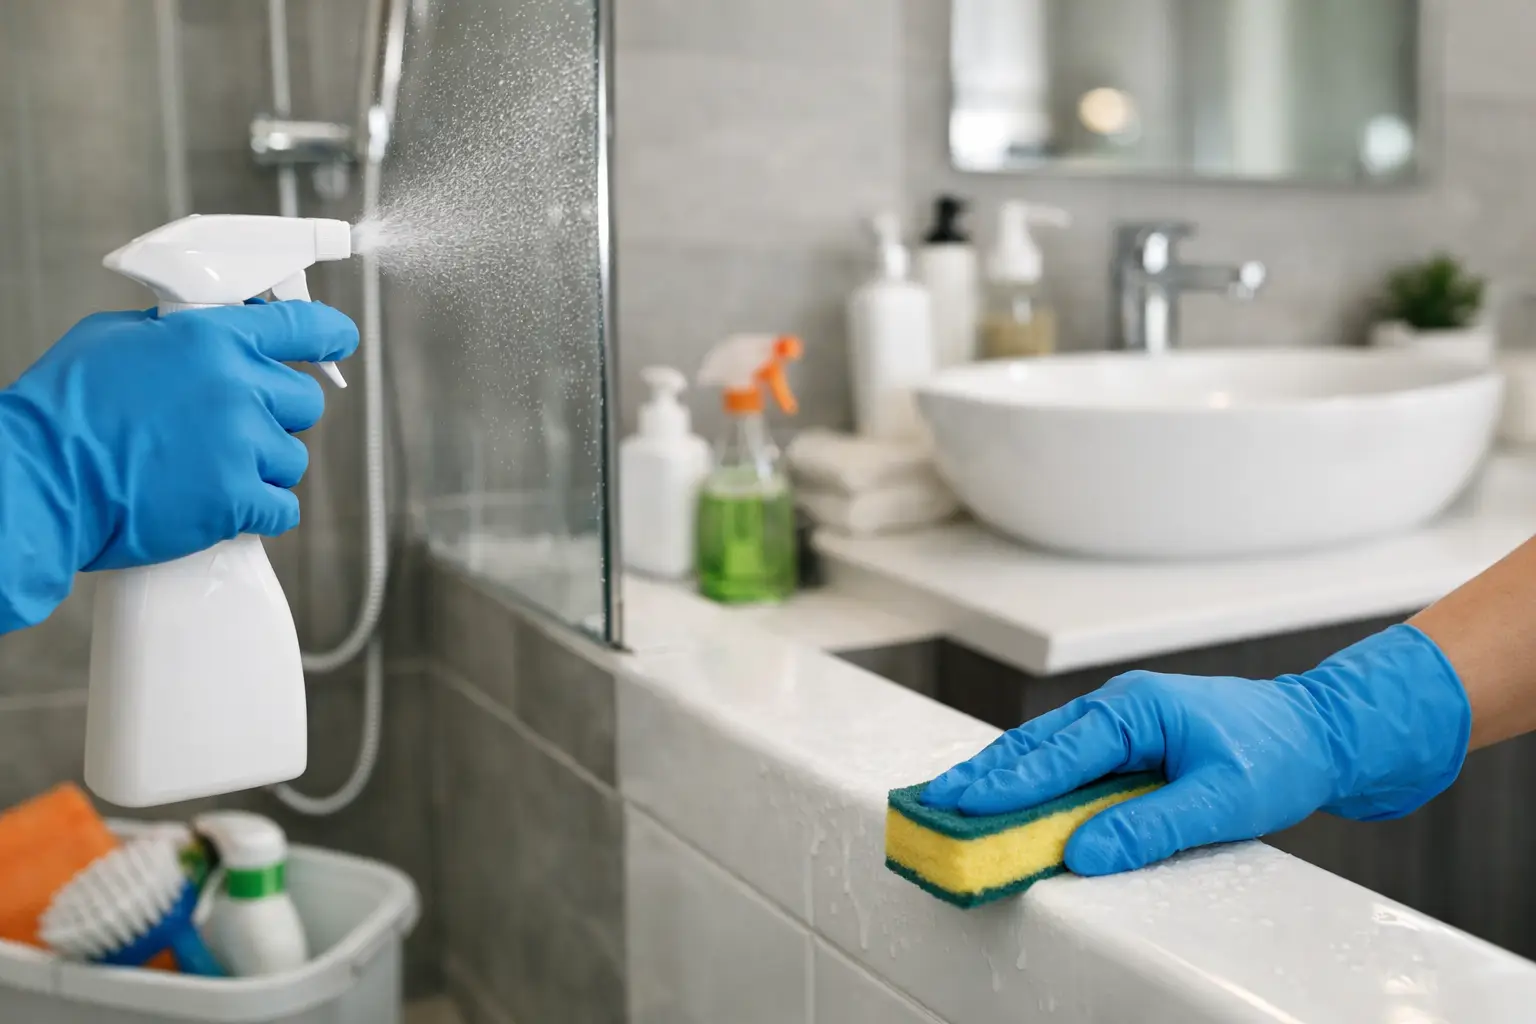
Once dry debris is gone, apply suitable cleaning products to the shower screen, tiles, grout, tapware, vanity, basin, bath and toilet exterior. The key here is not to scrub immediately. Give the products time to break down soap scum, body oils and mineral build-up.
What you use depends on the surface. Strong acidic products may help with heavy limescale, but they are not right for every finish. Natural stone, older sealants and some specialty fittings can be damaged by harsh chemicals. If there is any doubt, a gentler product and a spot test are the safer option.
4. Tackle the shower first
The shower is often the most labour-intensive part of the room. Glass screens collect soap scum and water spotting, while grout lines and silicone edges are common trouble spots for mould. Start at the top of the shower wall and work down, scrubbing tiles, rinsing where needed and paying close attention to corners and door tracks.
If mould has settled into silicone, cleaning may improve the appearance but not always restore it fully. That is an important trade-off to understand. Surface mould can often be treated effectively, but deeply stained or deteriorated silicone may need replacement rather than repeated scrubbing.
5. Clean the vanity, basin and mirrors
The vanity area picks up toothpaste splatter, hand soap residue and fingerprints quickly. Wipe cabinetry fronts, drawer handles, basin rims and the tap set carefully. Around the tap base is where grime tends to build up unnoticed.
Mirrors should be cleaned after nearby dust has been removed, otherwise they streak easily. Use a clean cloth and avoid over-wetting the edges, especially if the mirror backing is older. A polished mirror instantly makes the whole room feel cleaner, but it only holds that finish if the cloth itself is free of residue.
6. Disinfect the toilet properly
A proper toilet clean involves more than the bowl. Disinfect the flush button, cistern, seat, lid, hinges, exterior surfaces and the area around the base. Then clean inside the bowl, including under the rim where mineral deposits and bacteria can accumulate.
Colour-coded cloths or separate cleaning tools are a smart standard here. Cross-contamination is easy to cause when one cloth moves from the toilet to the vanity or other touchpoints. In homes this is a hygiene issue. In workplaces, schools and shared facilities, it becomes a broader presentation and health standard issue as well.
7. Finish with walls, touchpoints and detail work
Bathroom deep cleaning steps are often let down by the details left behind. Check door handles, light switches, towel rails, power point surrounds and the tops of door frames. Wipe splash marks from painted walls and remove residue from dispensers or storage containers before returning them.
This is also the time to empty and sanitise the bin, rinse soap dishes and check for hidden grime behind the toilet or under freestanding storage units. In tenancies and managed properties, these overlooked details can affect inspection outcomes more than people expect.
8. Clean the floor last
Once everything above has been cleaned, vacuum or sweep the floor again if needed, then mop thoroughly. Focus on the edges behind the door, around the toilet pedestal and along grout lines where residue settles. A floor can look clean from the middle and still be holding dirt around the perimeter.
Do not rush to replace mats straight away. Let the floor dry properly first. If dampness gets trapped underneath, musty smells can return quickly.
Common problem areas that need extra attention
Some bathrooms need more than a standard deep clean because the underlying issue is ongoing moisture, poor ventilation or long-term neglect. Grout discolouration, orange staining, black spotting on silicone and persistent odours usually point to a deeper build-up rather than a one-off mess.
In these cases, results depend on the condition of the surfaces. Heavy soap scum can often be removed with the right process, but etched glass, permanently stained grout or deteriorated sealant may not come back to a like-new finish. A professional cleaner should be honest about that. Good service is not about overpromising. It is about delivering the best achievable result with clear expectations.
When DIY bathroom deep cleaning steps are enough – and when they are not
For weekly upkeep and occasional resets, many homeowners can manage a solid deep clean themselves with the right products, enough time and a methodical approach. If the bathroom is used lightly and cleaned consistently, the task is usually straightforward.
It changes when the room has embedded mould, hard water scaling, tenancy deadlines or multiple bathrooms that need attention in a short time. The same applies to offices, healthcare settings, schools and other facilities where hygiene standards need professional execution and quality control. In those situations, a tailored service plan is often more efficient than trying to fit a major clean around an already full schedule.
Goldenshine Facility regularly sees bathrooms that looked manageable on the surface but needed far more detailed treatment once the work began. That is often the value of professional cleaning – not just speed, but knowing where build-up hides and how to treat each surface safely.
How to keep the results for longer
Deep cleaning works best when followed by simple maintenance. Wiping down shower glass after use, keeping the exhaust fan running long enough to reduce moisture, emptying bathroom bins regularly and cleaning spills before they set can extend the fresh finish noticeably.
It also helps to address small issues early. A leaking tap, cracked grout line or poorly ventilated shower recess can undo your cleaning efforts fast. Cleanliness and bathroom condition are closely linked. If one slips, the other usually follows.
A well-cleaned bathroom does more than look polished. It supports hygiene, protects surfaces and makes the entire property feel better cared for. If the job keeps getting pushed down the list, the smartest move is often the one that restores the space properly and gives you back your time.