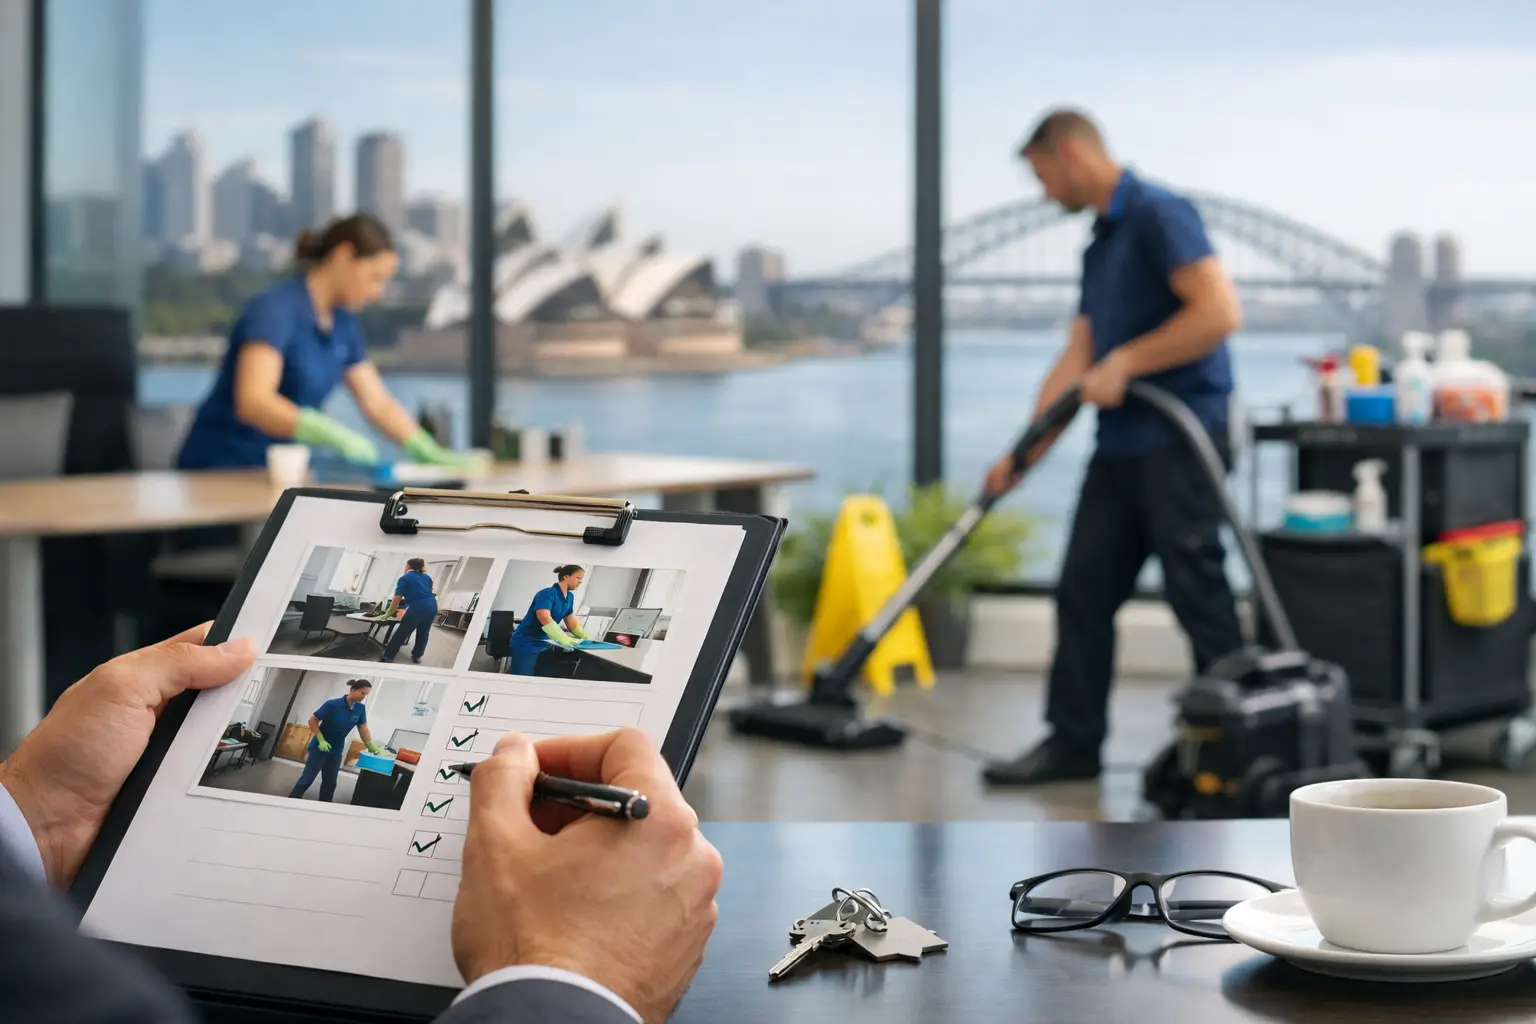


When the removalists are booked and the keys are nearly ready to hand back, cleaning is usually the job that gets squeezed into the final few hours. That is where tenants lose time, miss details, and put their bond at risk. A solid apartment move out cleaning checklist helps you clean with purpose, meet lease expectations, and leave the property ready for inspection.
For most Sydney renters, the standard is not simply tidy. The apartment needs to be returned in a clean, hygienic, and well-presented condition, allowing for fair wear and tear. That means fingerprints on light switches, grease around the cooktop, dust on skirting boards, and soap residue in the shower all matter. If your property manager has a detailed vacate cleaning list, use that first. If not, this guide covers the areas that are most commonly checked.
How to use an apartment move out cleaning checklist
The smartest way to approach end of lease cleaning is room by room, from top to bottom. Start with rooms that are already empty so you are not cleaning around boxes or furniture. Dust high surfaces first, then work down to benches, fittings, and finally floors. This saves time and stops you from re-cleaning areas you have already finished.
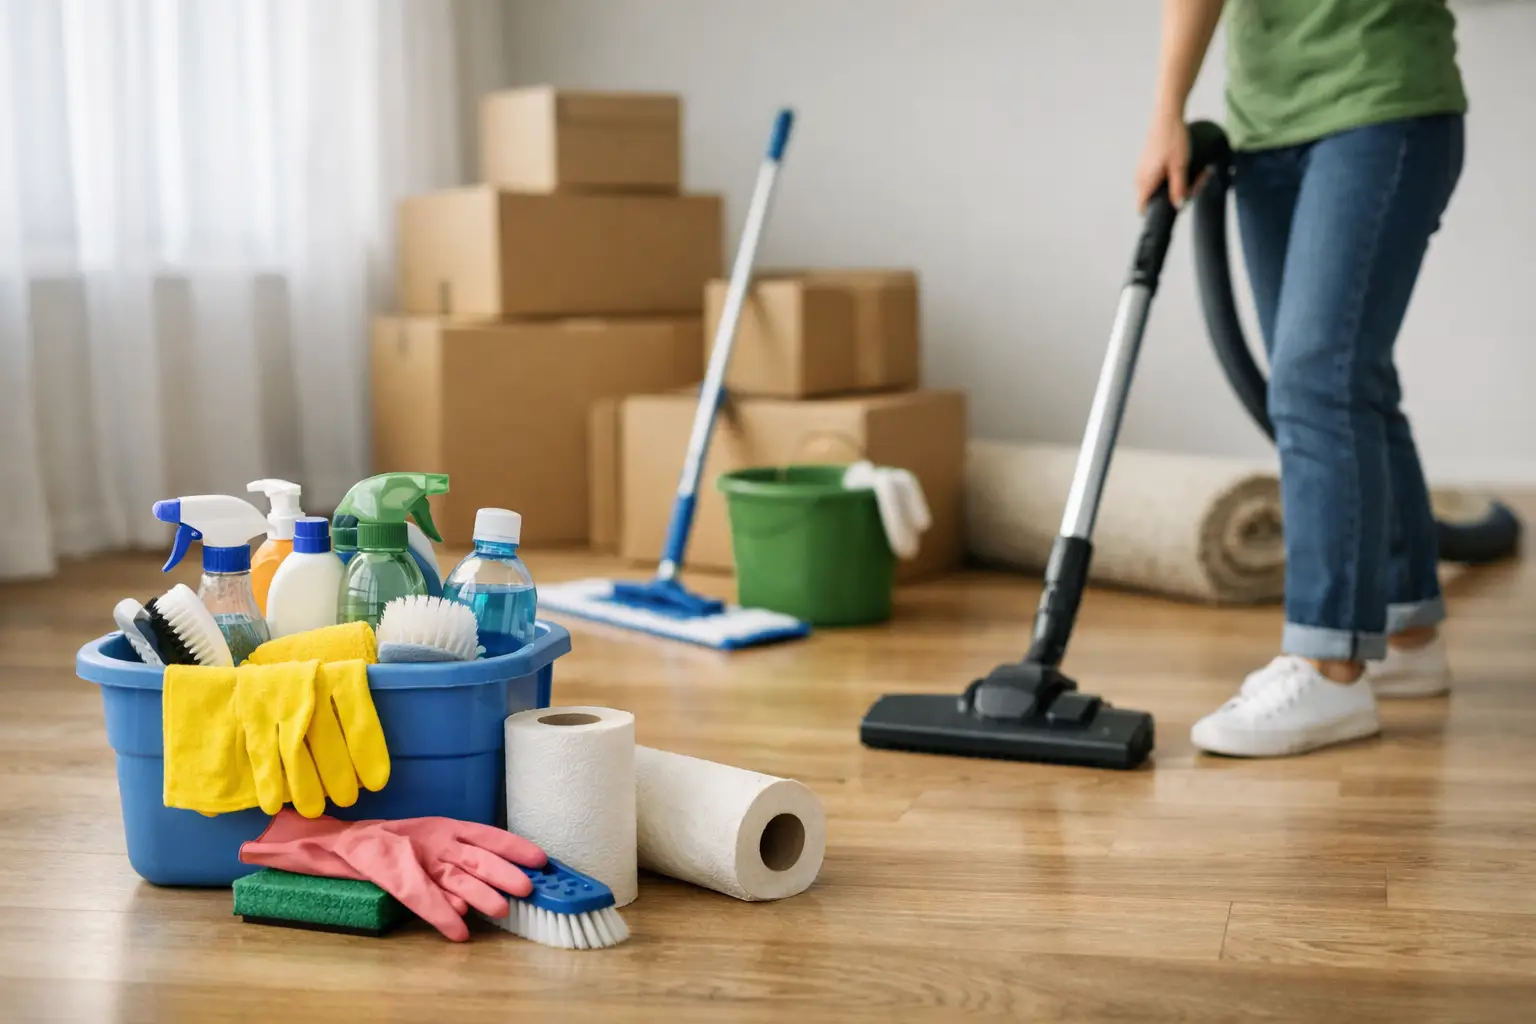
It also helps to separate general cleaning from deeper jobs. Wiping cupboards, vacuuming carpets, and mopping tiles are standard tasks. Oven cleaning, carpet steam cleaning, pest control, or mould treatment may be needed depending on the lease, the property condition, and whether pets were kept in the apartment. That is where a checklist becomes useful – it shows what you can handle yourself and what may be better left to professionals.
Apartment move out cleaning checklist by area
Kitchen
The kitchen is one of the first places agents inspect because it shows grease, food residue, and odours quickly. Start by emptying every cupboard and drawer, then wipe inside and out. Pay attention to corners, handles, and the top edges of cabinetry where dust and cooking residue build up.
Clean the benchtops, splashback, sink, taps, and drain area thoroughly. If there is limescale or staining, use a suitable product and allow it time to work rather than scrubbing aggressively and risking damage. The stovetop should be free from grease, burnt food, and streaks. Rangehood filters often get overlooked, yet they are a common inspection point.
The oven usually needs the most effort. Racks, trays, glass panels, and the inner door should all be cleaned until there is no visible baked-on residue. If the build-up is heavy, this can become a time-consuming job, and it is often the task tenants outsource because it has such a strong impact on the final result.
Do not forget appliances left with the property, such as a dishwasher or microwave. Wipe the exterior, clean inside, and remove crumbs or trapped food. Finish by sweeping and mopping the floor, including under and behind movable appliances if safe to access.
Bathroom and laundry
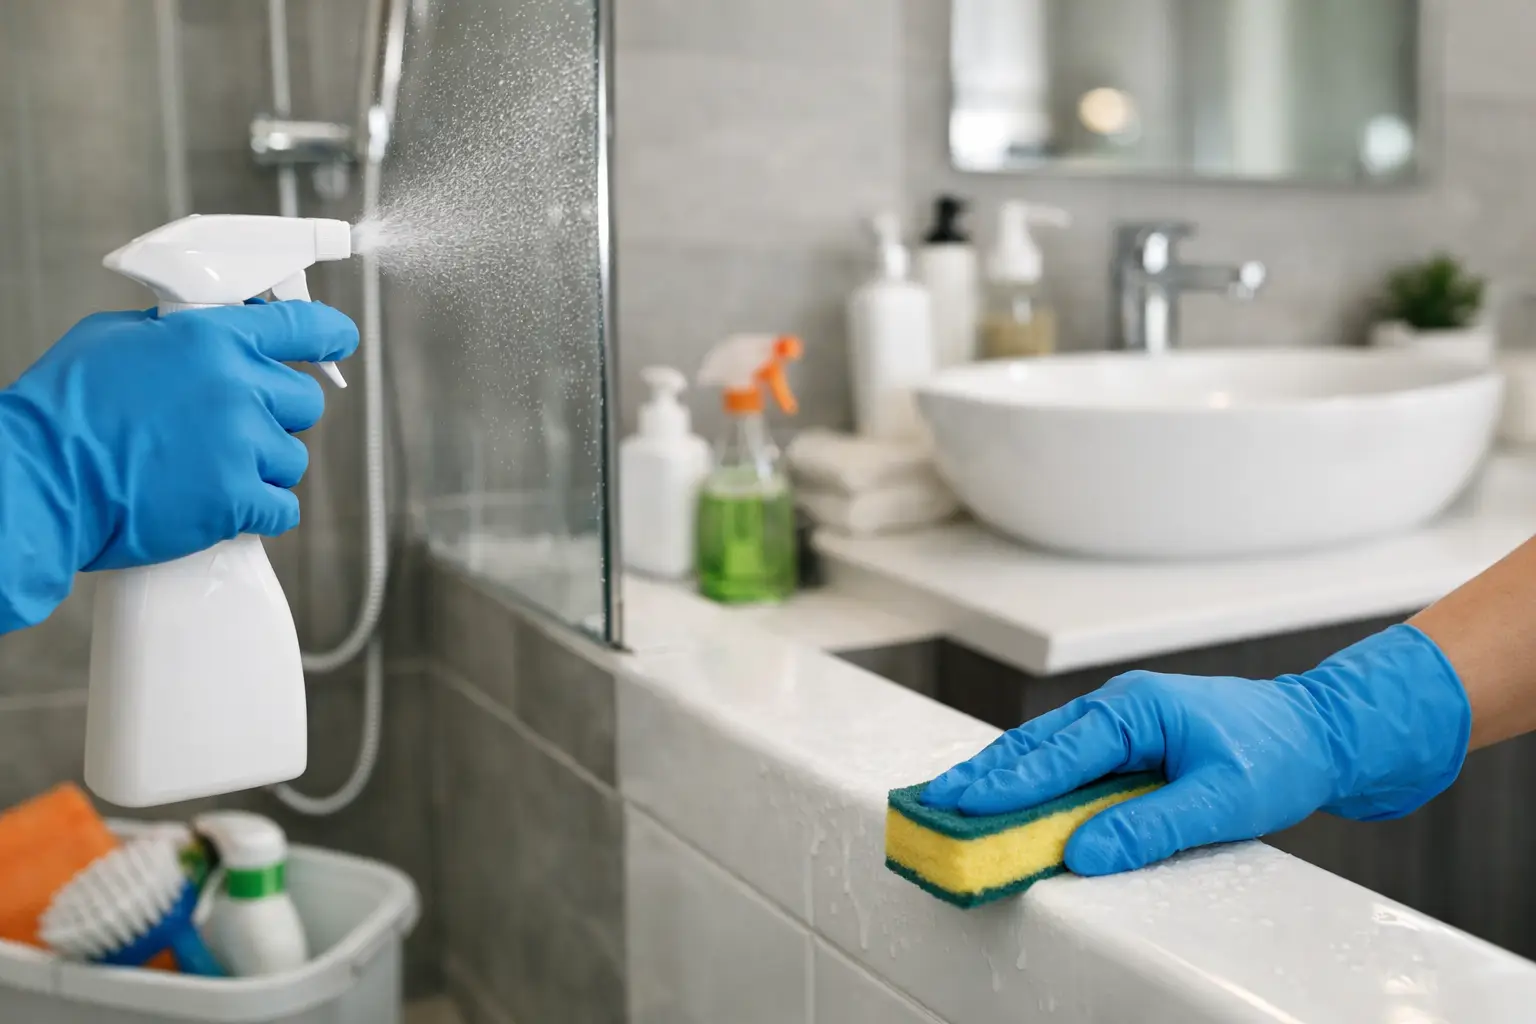
Bathrooms need to look clean and feel hygienic. Soap scum, mould, hair, and hard water marks can make an otherwise tidy room fail inspection. Clean the shower screen, tiles, grout, taps, toilet, vanity, basin, mirror, and any shelving. If the exhaust fan cover is dusty, remove the visible build-up carefully.
The toilet should be disinfected inside and out, including around the base and behind the seat hinges. Mirrors should be streak-free, and chrome fittings should be polished enough to look fresh, not cloudy. In the shower, agents often notice the frame tracks and corners first because that is where grime collects.
If your apartment has a laundry, wipe down the sink, taps, shelving, and any cabinet fronts. Lint around the dryer cavity and dust behind the washing machine recess can be missed easily. Floors in wet areas should be vacuumed or swept before mopping so hair and debris are fully removed.
Bedrooms and living areas
These rooms are usually simpler, but they still need detail work. Dust all skirting boards, window sills, built-in wardrobes, shelves, power points, and door frames. Wipe wardrobe interiors and remove any marks from walls where possible, using methods suitable for the paint finish.
Windows should be cleaned on the inside unless external access is safe and part of your lease requirements. Glass, tracks, and frames all count. Curtains should be dust-free, and blinds often need a careful wipe to remove built-up grime. Ceiling fans and air-conditioning vents should also be checked, especially in apartments where dust accumulates quickly.
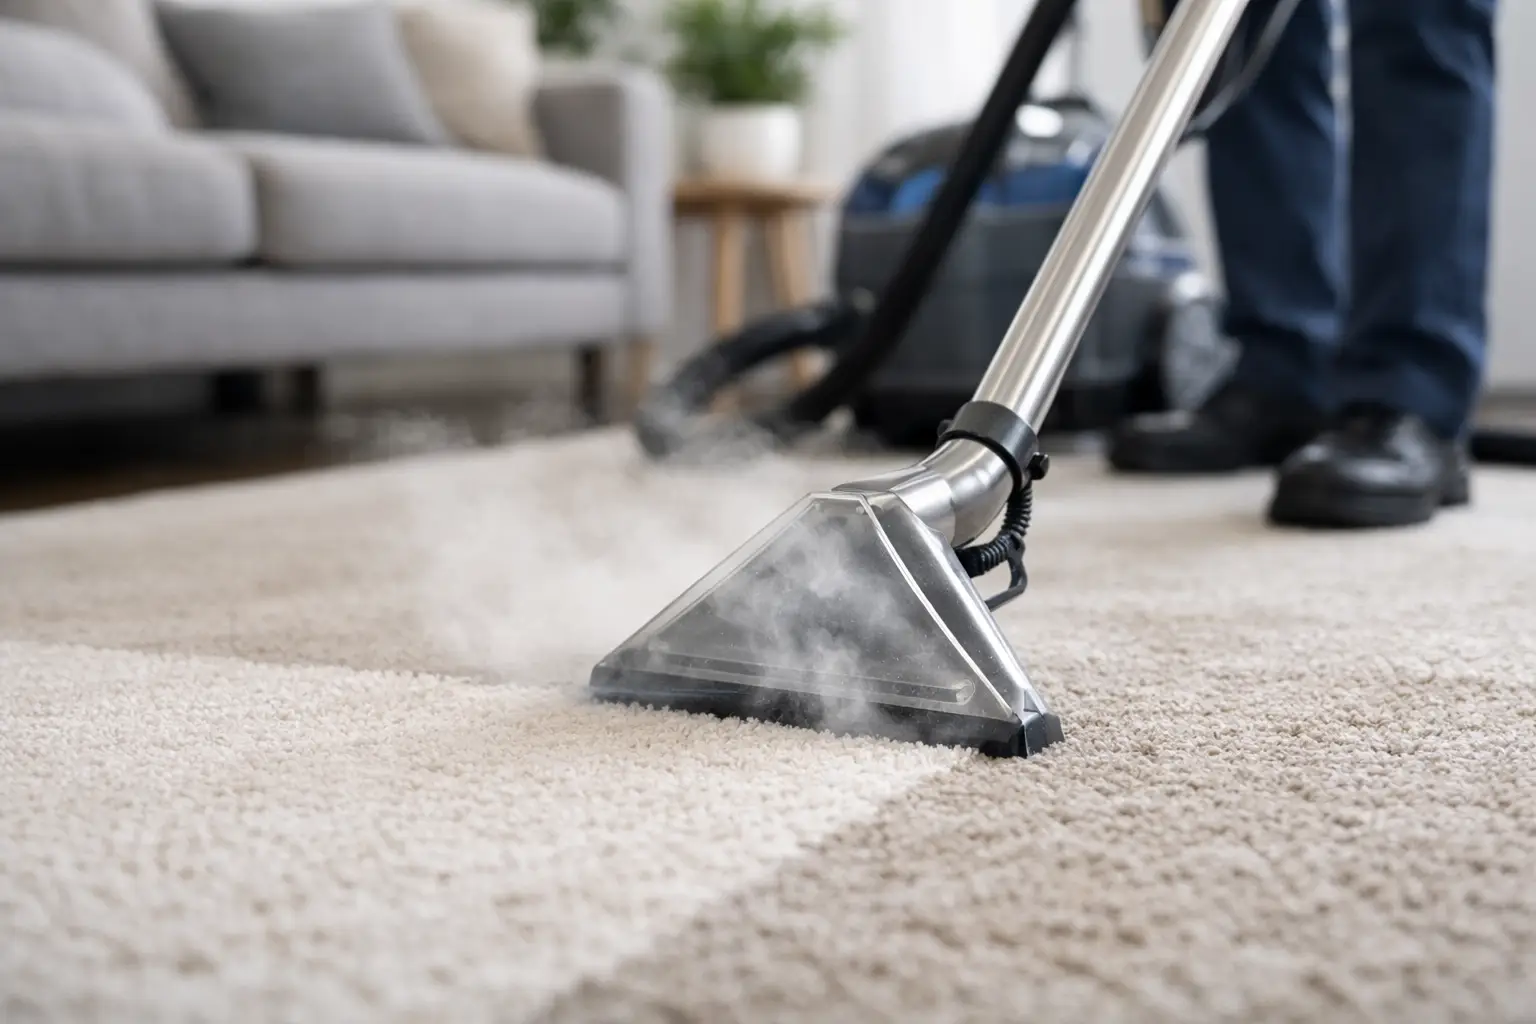
Vacuum carpets thoroughly, paying attention to edges and corners. Hard floors should be swept and mopped with the right product for the surface. If there are stains or odours in carpets, standard vacuuming may not be enough. Many property managers in Sydney expect professional carpet steam cleaning when carpets have been heavily used or pets have been present.
Entry, balcony, and final details
The front entrance sets the tone for the inspection. Clean the inside of the entry door, handle areas, switches, and any visible marks on nearby walls. If your apartment includes a balcony, sweep it properly and remove leaves, dust, cobwebs, and any pot plant residue. Outdoor glass and tracks should be cleaned where accessible.
Small details often make the difference between a pass and a callback. Check light switches, door handles, skirting boards, air vents, and the tops of doors. Remove all rubbish, including cleaning supplies, broken hangers, and leftover food from the fridge. If a bin is provided with the property, it should be emptied and wiped out.
What tenants commonly miss
Even careful renters tend to overlook the same problem areas. The tops of cupboards, behind toilets, inside exhaust covers, window tracks, and under the lip of sinks are frequent misses. Another one is adhesive marks from hooks or picture strips. If these can be removed safely without damaging the wall, it is worth doing before inspection day.
Time pressure is another issue. Cleaning after the apartment is empty is far easier, but many tenants leave it until moving day and run out of energy. A checklist solves part of that problem, but only if you start early enough to deal with stubborn grease, mould, or carpet stains properly.
DIY or professional cleaning?
It depends on the apartment, your lease, and how much time you have. If the property is already in good condition and you are confident with detailed cleaning, doing it yourself can be cost-effective. The trade-off is time, physical effort, and the risk of missing something that leads to a re-clean.
Professional end of lease cleaning makes more sense when the apartment has not had a recent deep clean, when the oven or bathrooms need heavy attention, or when you need supporting services such as carpet steam cleaning, rubbish removal, or pest control. For many renters, the biggest benefit is not just convenience. It is the confidence that the property has been cleaned to an inspection-ready standard.
A provider with a bond back guarantee can offer extra peace of mind, especially if your agent has strict expectations. Goldenshine Facility, for example, takes a customised approach rather than relying on one fixed package, which is useful because no two apartments – or lease conditions – are exactly the same.
Before you hand back the keys
Do one final walk-through with your checklist once the cleaning is complete. Open cupboards, turn on lights, inspect the bathroom from floor level, and look at windows from different angles to catch streaks. Take clear photos after the clean in case there is any dispute later.
If your lease requires receipts for carpet cleaning or pest control, keep them ready before inspection. Make sure all personal items are out, all rubbish is removed, and the apartment smells fresh rather than strongly perfumed. Clean is better than covered up.
A well-cleaned apartment does more than support your bond return. It shows respect for the property, makes the handover easier for everyone involved, and lets you leave on the right note when one chapter closes and the next begins.